


Introduction
A “LAMP” stack is a group of open-source software that is typically installed together
to enable a server to host dynamic websites and web apps. This term is an acronym
that represents the Linux operating system, with the Apache web server. So the site data is stored
In a MySQL database, dynamic content is processed by PHP.
Therefore, in this guide, we will install the LAMP stack on the local Ubuntu machine and will deploy the website on the Ubuntu machine.
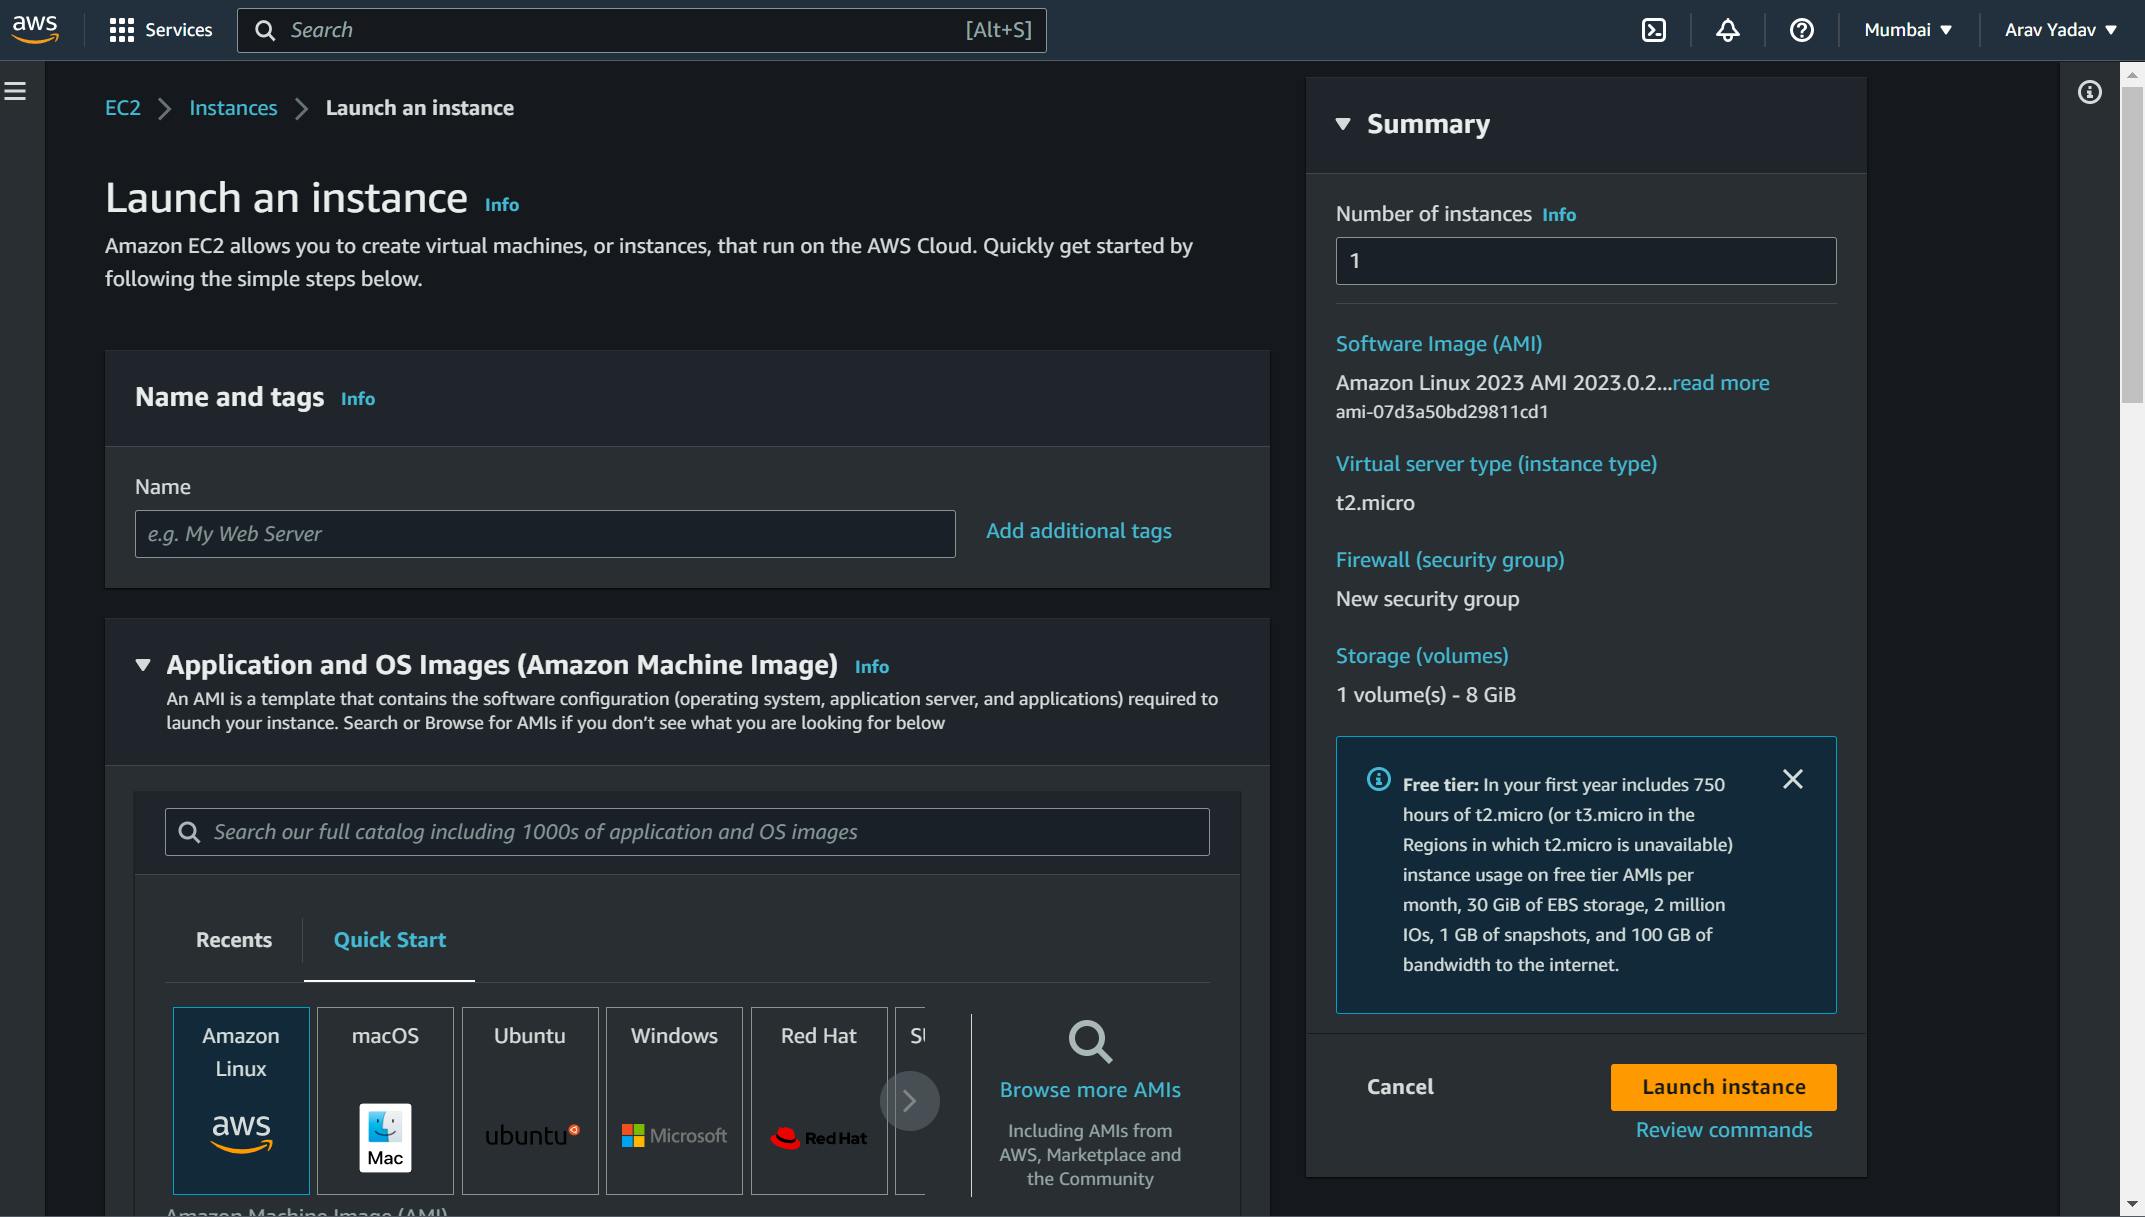
Step 1: Launch an EC2 instance
First, launch an EC2 instance using the Amazon Linux AMI or any other Linux distribution of your choice.
Step 2:Connect to the instance
Connect to the EC2 instance using SSH. You can use the terminal or PuTTY to connect to the instance.

Step 3: Installing Apache And Updating The Firewall Configuration :
The Apache web server is among the most popular web servers in the world.
It’s well-documented and has been in wide use for much of the history of the web,
which makes it a great default choice for hosting a website so, run the following command.
sudo apt update
sudo apt install apache2
sudo ufw app list
Output
Available applications:
Apache
Apache Full
Apache Secure
OpenSSH
Step 2: Setup Firewall
sudo ufw app info "Apache Full"
Output
Profile: Apache Full
Title: Web Server (HTTP, HTTPS)
Description: Apache v2 is the next generation of the omnipresent Apache web
server.
Ports:
80,443/tcp
Step 3: Allow incoming HTTP and HTTPS traffic for this profile:
sudo ufw allow in "Apache Full"
You can do a spot check right away to verify that everything went as planned
by visiting your server’s public IP address in your web browser

Step 3: Install MySQL using the following command
sudo apt install mysql-server -y
Step 4: Install PHP - Install PHP and the required modules using the following command:
sudo apt install php libapache2-mod-php php-mysql
To do this, type this command to open the dir. conf file in a text editor with root privileges:
sudo vi /etc/apache2/mods-enabled/dir.conf
Moreover, It will looklike this:
<IfModule mod_dir.c>
DirectoryIndex index.html index.cgiindex. plindex.php index.xhtml index.htm
</IfModule>
##Move this above index.php to the first place after the directory index##
<IfModule mod_dir.c>
DirectoryIndex index.php index.html index.cgiindex. plindex.xhtml index.htm
</IfModule>
sudo systemctl restart apache2
Step 6:Test the installation
Create a test PHP file and place it in the webroot directory (/var/www/html). You can use the following command to create the test file:
sudo vi /var/www/html/info.php
Add the following PHP code to the file:
##In the blank file write this code##
<?php
phpinfo();
?>

save and close it.
Save the file and navigate to http://[your-ec2-instance-public-ip]/info.php in a web browser. You should see the PHP information page

That's it! You have successfully installed the LAMP stack into your EC2 server.