Building a Document Converter with Django, S3, Python, and Cloud9 on AWS.


🎯Introduction
Introduction: In today's digital world, the need for document conversion is essential for seamless information exchange. In this blog, we will guide you through the process of building a document converter using Django, S3, Python, and Cloud9 on the Amazon Web Services (AWS) platform. With this powerful combination of technologies, you'll be able to convert various document formats to pdf.
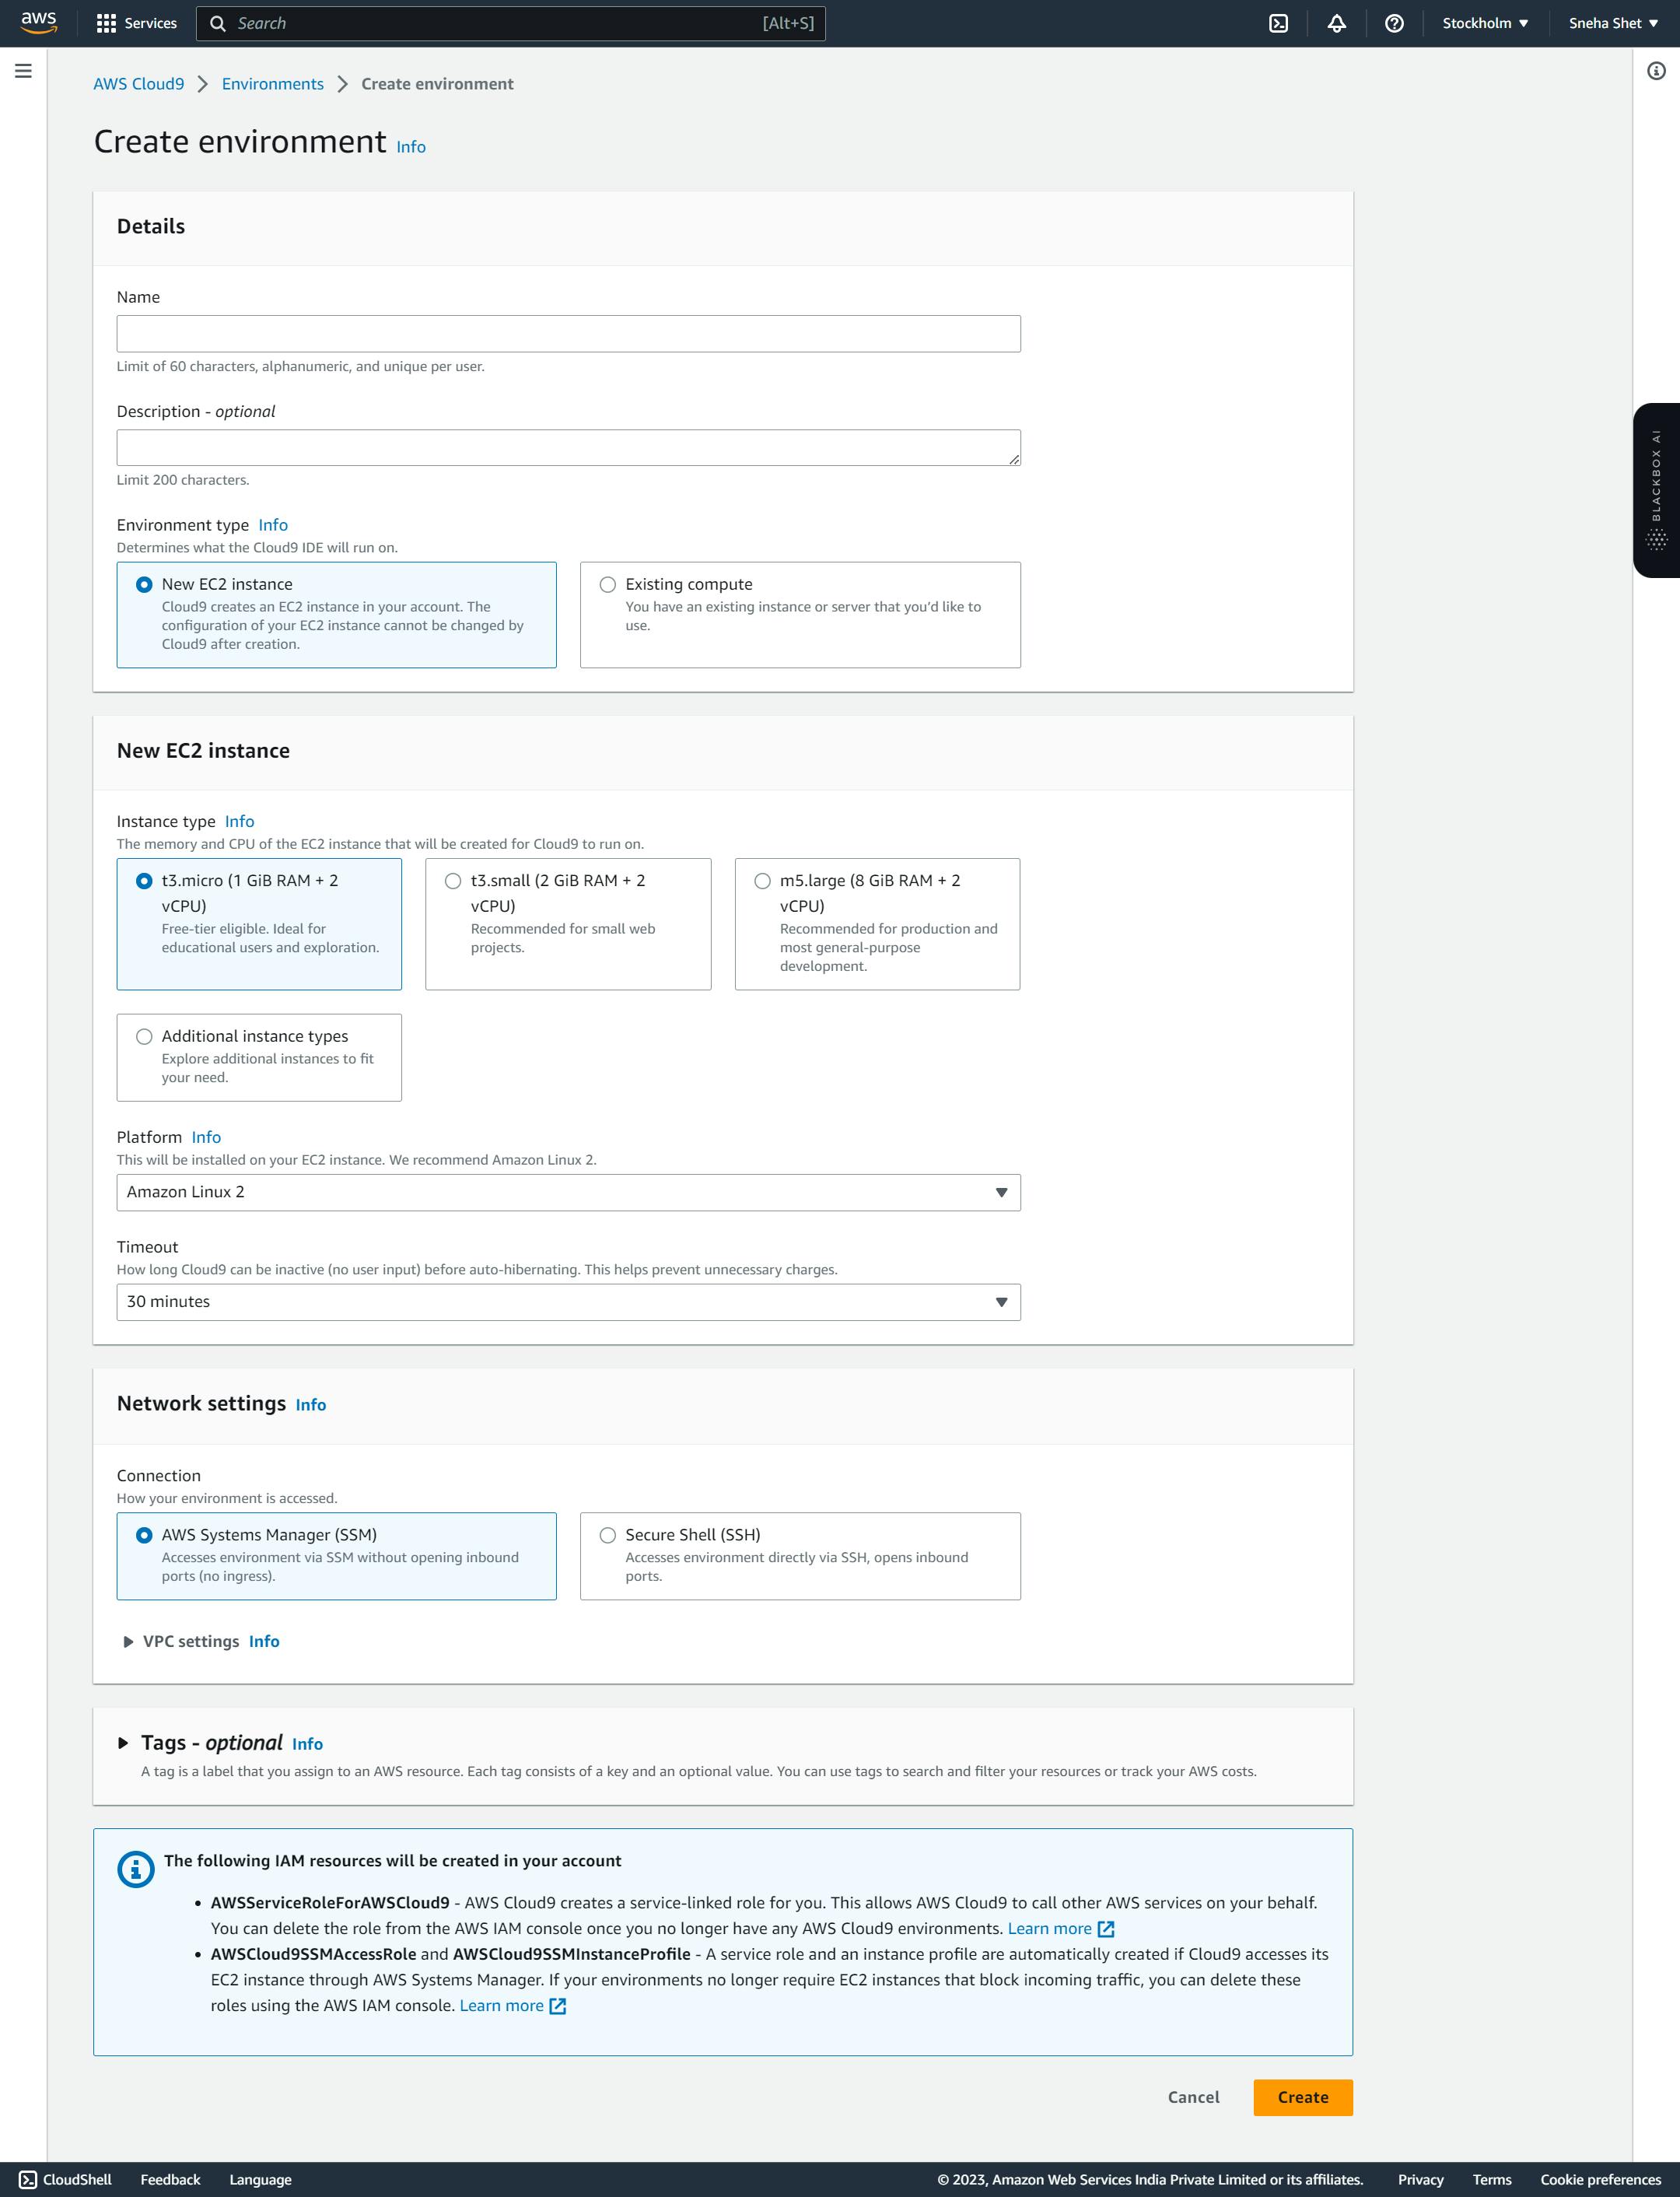
Step 1: Create an environment in Cloud9
Enter a name for your environment and Select an instance type based on your requirements and platform ubuntu or Amazon Linux, then Click on "Next step."
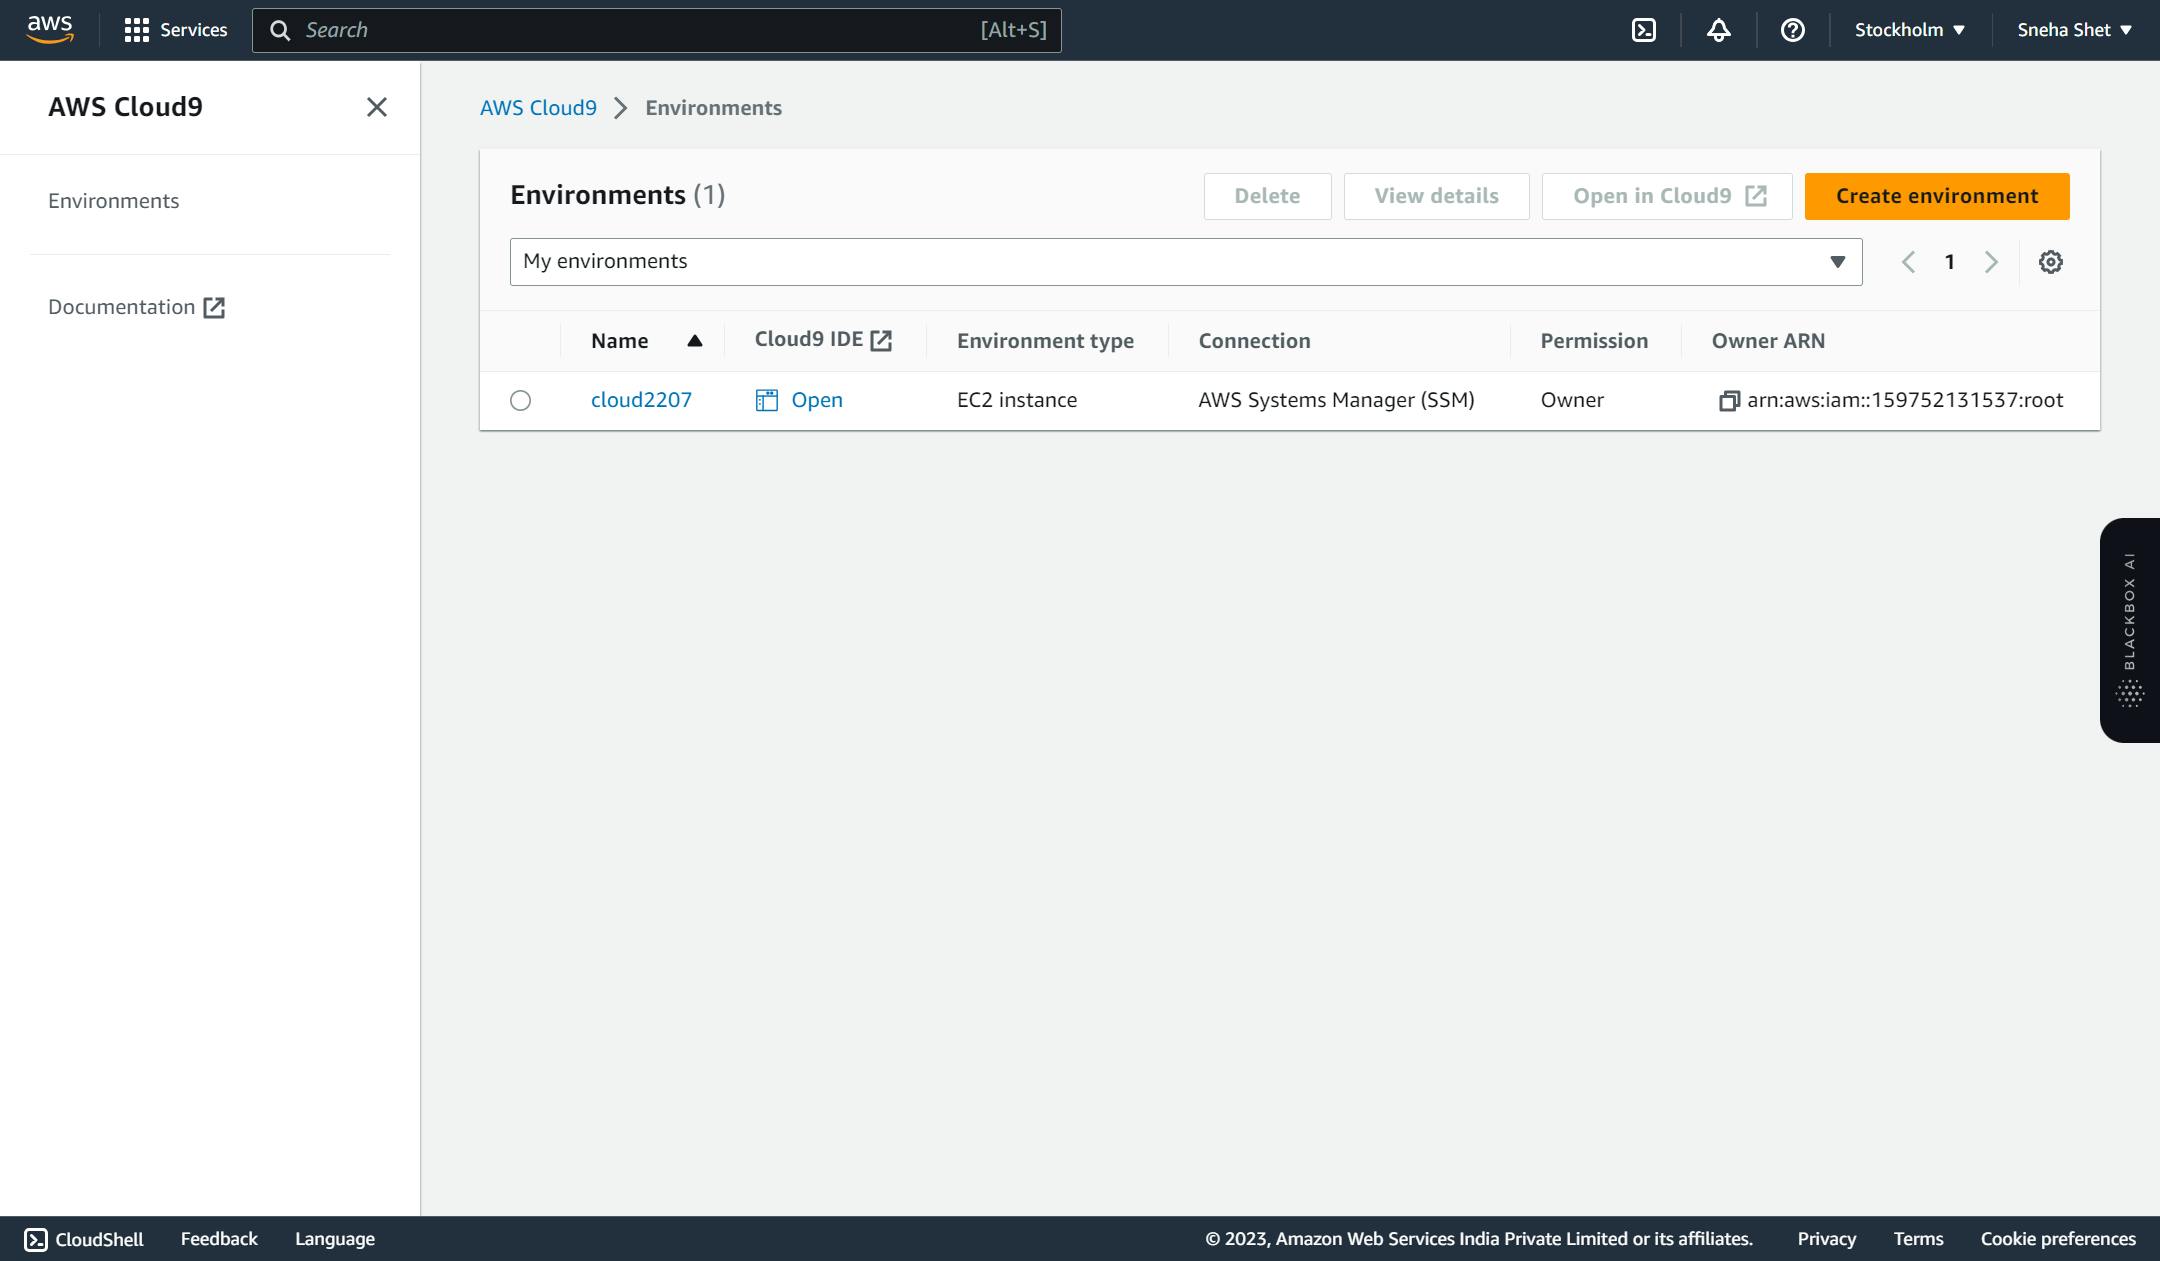
Step 2: Now Open the IDE which created & Install Python and the required dependencies in terminal
Step 3:To install Django, Django Storages, Boto3, and LibreOffice, you can follow these steps:
- Install Django:
pip3 install django
- Install Django Storages:
pip3 install django-storages
- Install Boto3:
pip3 install boto3
- Install LibreOffice:
sudo apt install libreoffice
Please note that for step 4, the sudo command is used because it requires administrative privileges to install system packages. Make sure you have appropriate permissions on your system to execute this command.
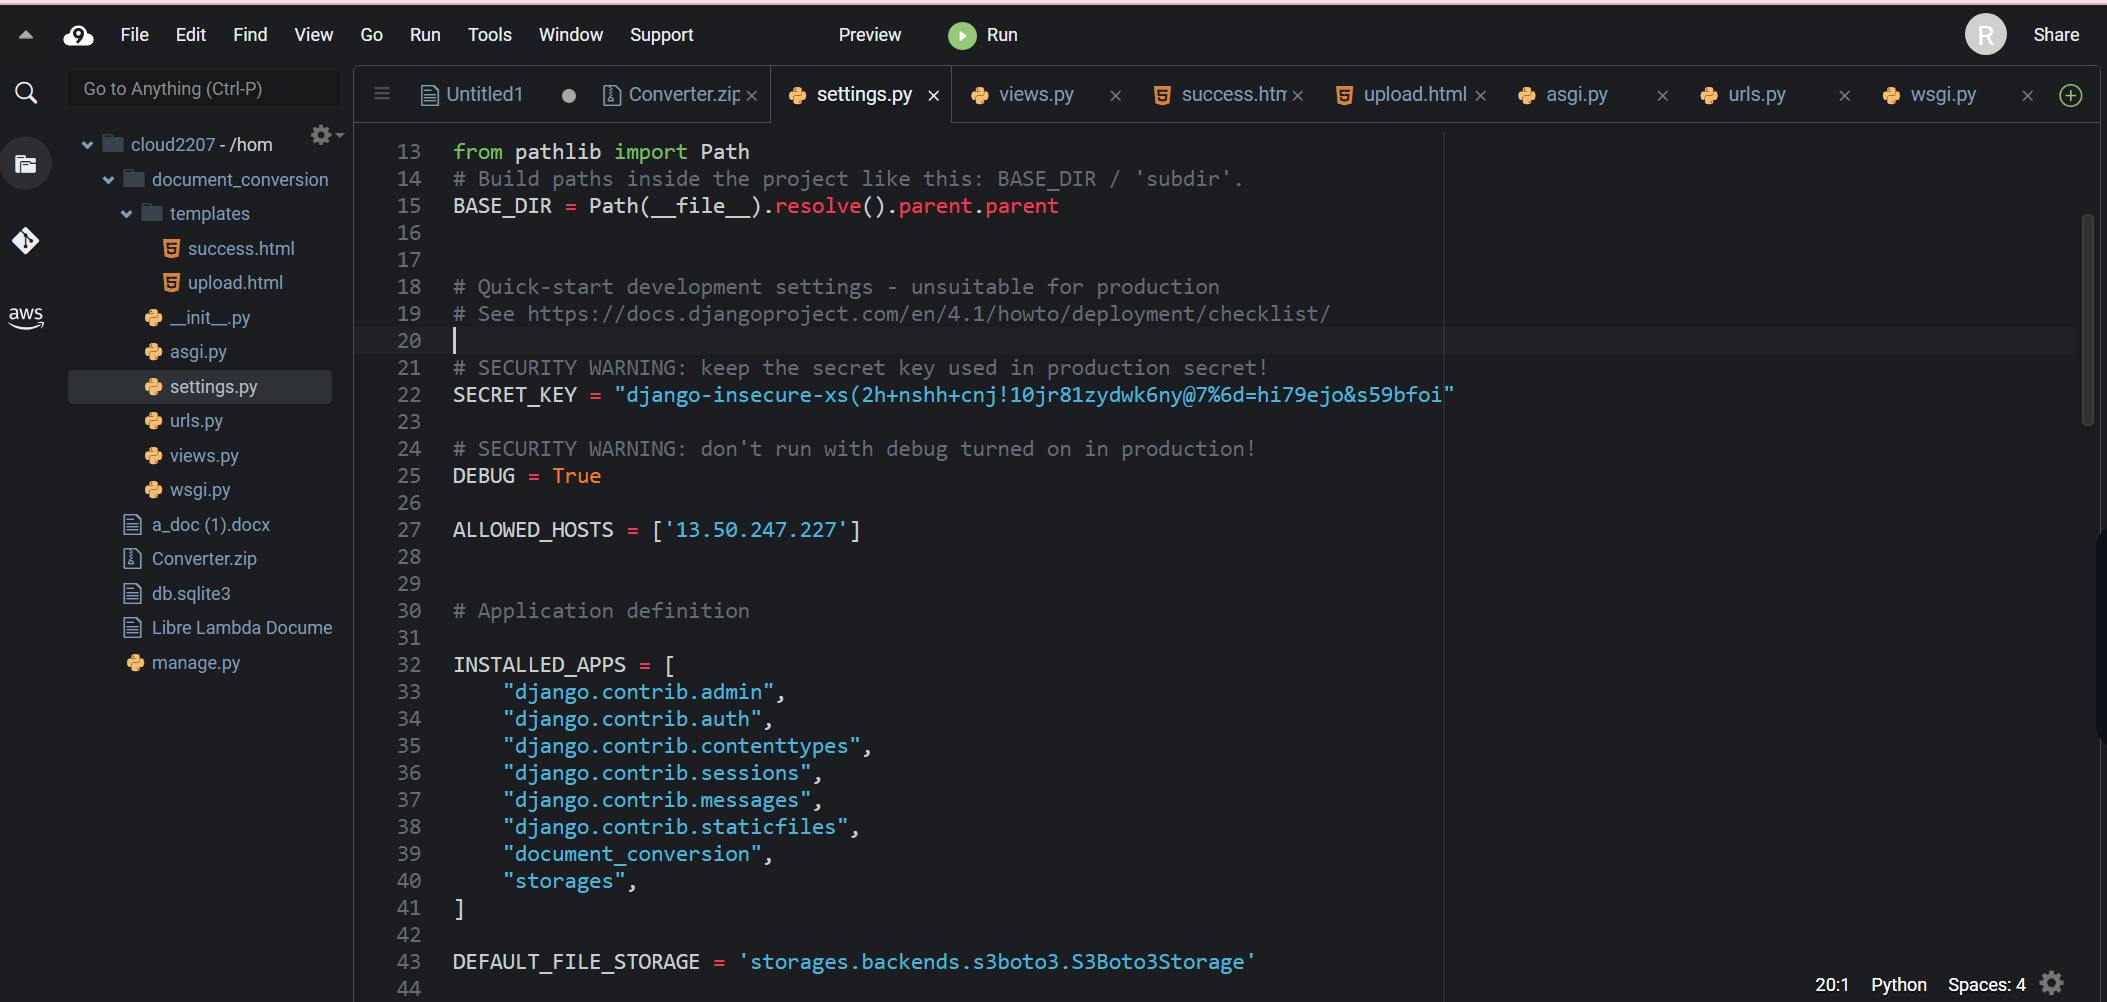
Step 4: Upload the zip file code in cloud9 & unzip the zip file

After the upload the code from the local file make sure to unzip the code file using these commands
#unzip filename.zip
 unzip Converter.zip
Step 5:Set up AWS S3:
Create an S3 bucket in the AWS Management Console.
Generate an access key and secret key with S3 access permissions and make it public and apply the following policy
{
  "Id": "Policy1689159409017",
  "Version": "2012-10-17",
  "Statement": [
    {
      "Sid": "Stmt1689159407148",
      "Action": "s3:*",
      "Effect": "Allow",
      "Resource": "arn:aws:s3:::mysourcebuck",
      "Principal": "*"
    }
  ]
}
Install the AWS SDK for Python (Boto3):
pip3 install boto3.Start the Django development server:
Step 3: Configuring S3:
Log in to your AWS account and navigate to the S3 console.
Create a new S3 bucket to store the converted documents.
Note down your bucket name and AWS access key ID/secret access key.
Step 6:Configure Django to use S3:
Open the
settings.pyfile in your Django project.Add the following AWS S3 configuration:
  AWS_ACCESS_KEY_ID = 'your_access_key'
  AWS_SECRET_ACCESS_KEY = 'your_secret_key'
  AWS_STORAGE_BUCKET_NAME = 'your_bucket_name'
Steep 7:Now open text editor And edit ALLOWED_HOST = ['YOUR_PUBLIC_IP'] with your own ec2 instance public IP address.
save the changes using ctrl and s and restart server
Step 8: Testing the application:
Start the Django development server:
python manage.py 0.0.0.0:8000
Step 9: Copy the IP and paste it into the browser.

Upload a document, select the and initiate the conversion.Once the conversion is complete, download the converted document.
Step :Conclusion:
Congratulations! You have successfully built a document converter using Django, S3, Python, and Cloud9 on the AWS platform. With this powerful combination, you can convert various document formats and store them in an S3 bucket. Feel free to enhance the application by adding additional features such as user authentication, error handling, and more supported document formats. Happy coding!